In order to run the Web application from NetBeans IDE you need to select the server in the “Server and Settings” section while creating a new web application project. By default, no servers are registered first time when we install and use NetBeans IDE. We need to add a server first and then register in the IDE. For this article, I will be showing how to add “GlassFish” server.
Step 3 of creating new web application in IDE:
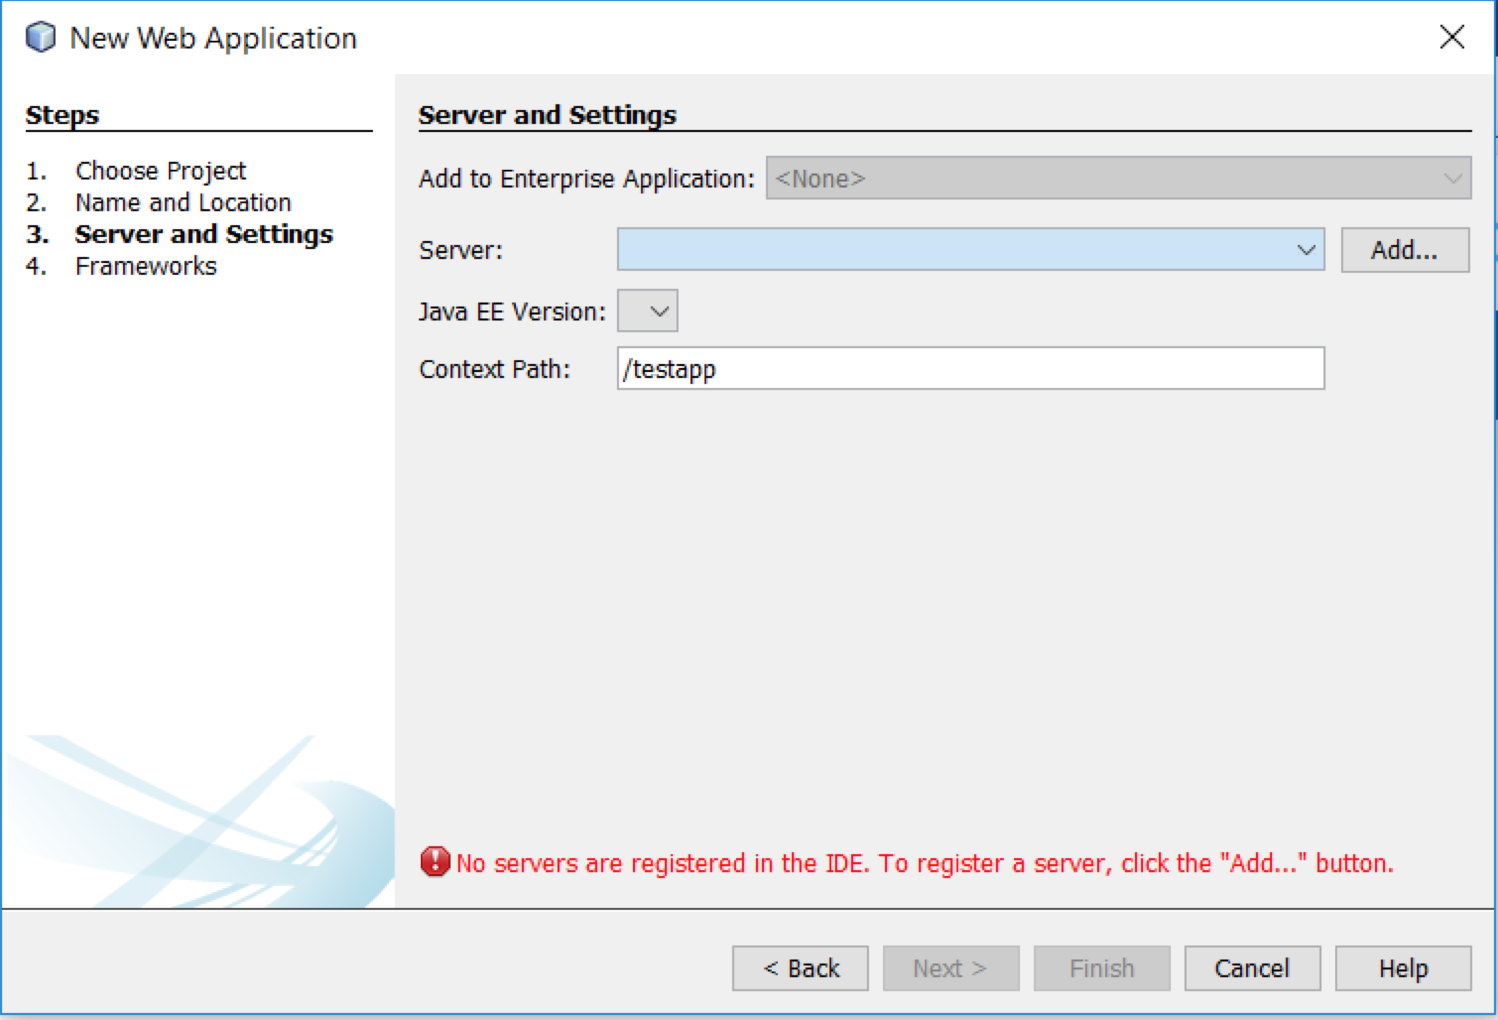
Figure 1 – No servers are registered
Click on “Add” button displayed after the dropdown for title “Server:” and then it displays list of servers available and we need to choose one. I am going to select “GlassFish Server”.

Figure 2 – Choosing GlassFish Server
Choose Installation location and select the checkbox for “I have read and accept…” so that button “Download Now..” gets enabled. Since I am working on my laptop which does not belong to any domain, I will leave the option “Local Domain” as its is. Click on the button “Download Now…“.
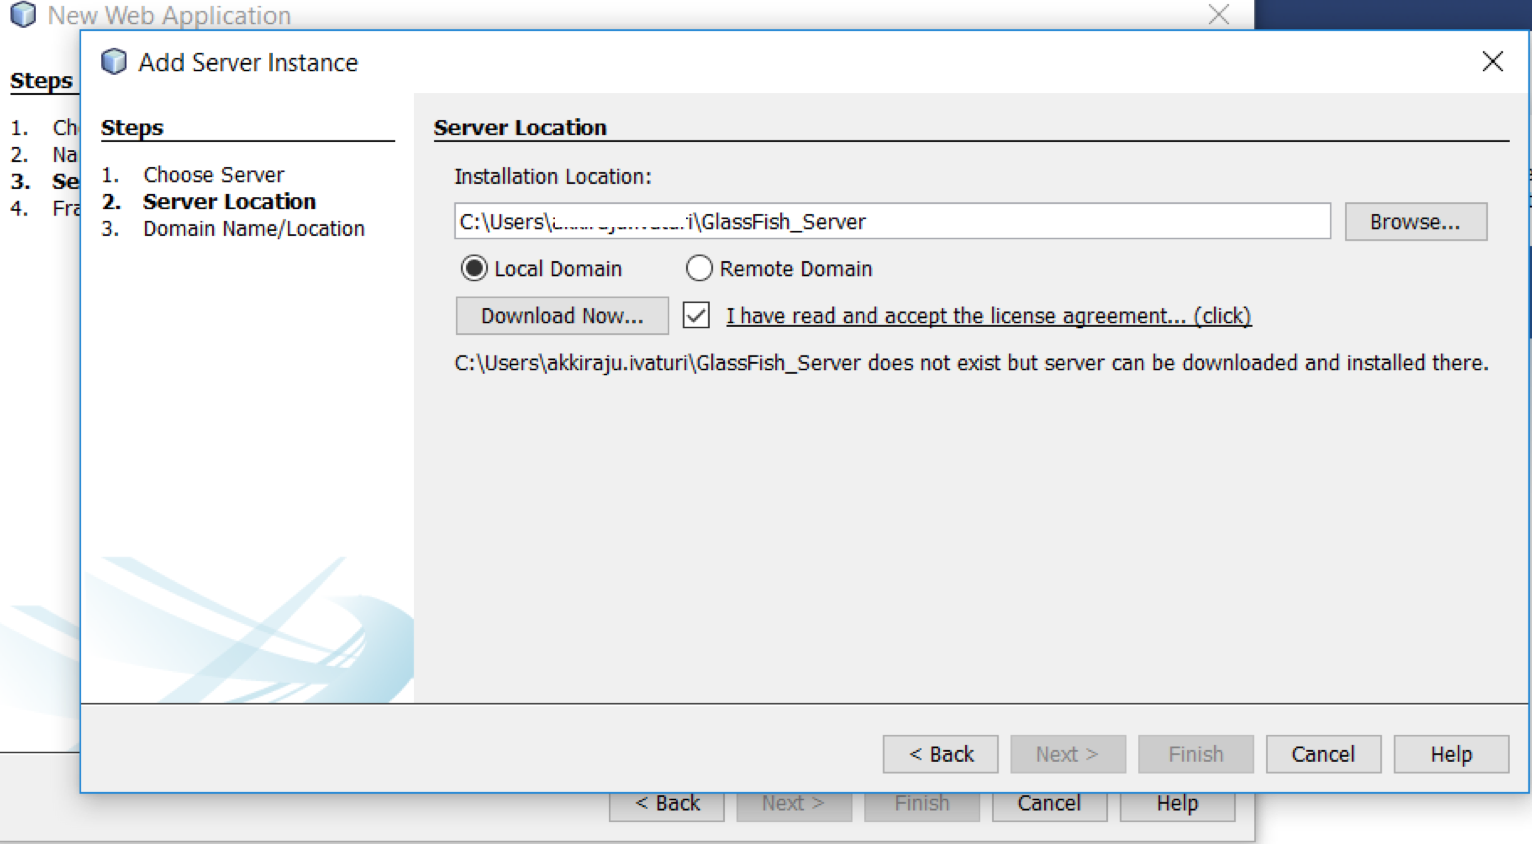
Figure 3 – Enabling the button
Select “GlassFish Server x.x.x” to download and click button “OK“.

Figure 4 – Selecting GlassFish Server
Let us keep the default settings for Domain Name/Location.
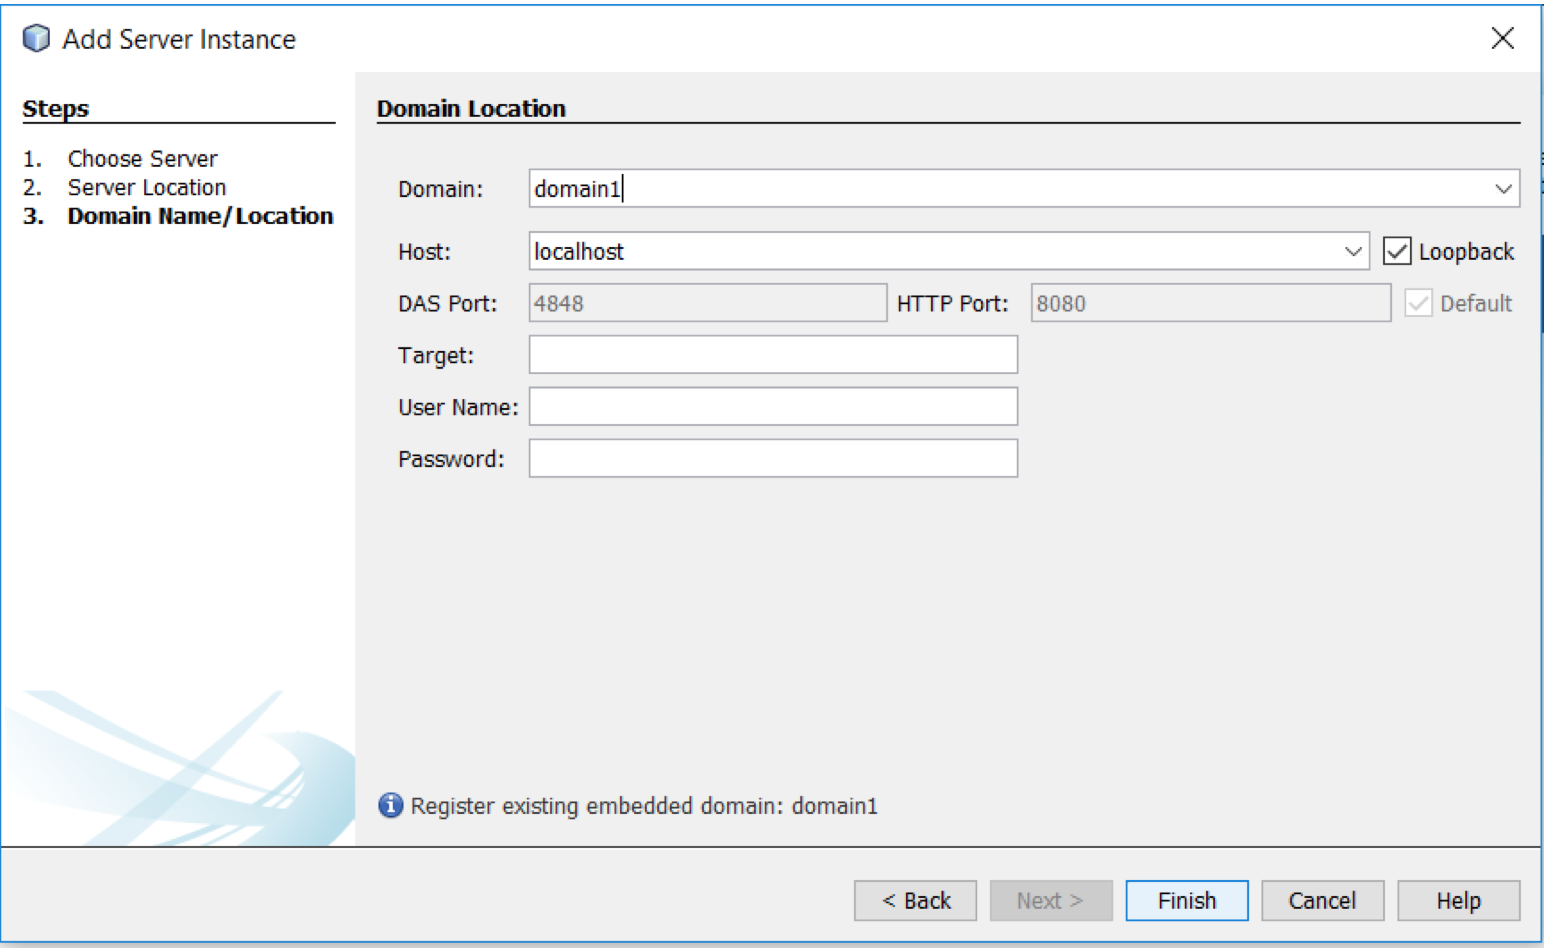
Figure 5 – Default settings
Click button “Finish” and now the server will be available for selection in the step 3 of new web application.
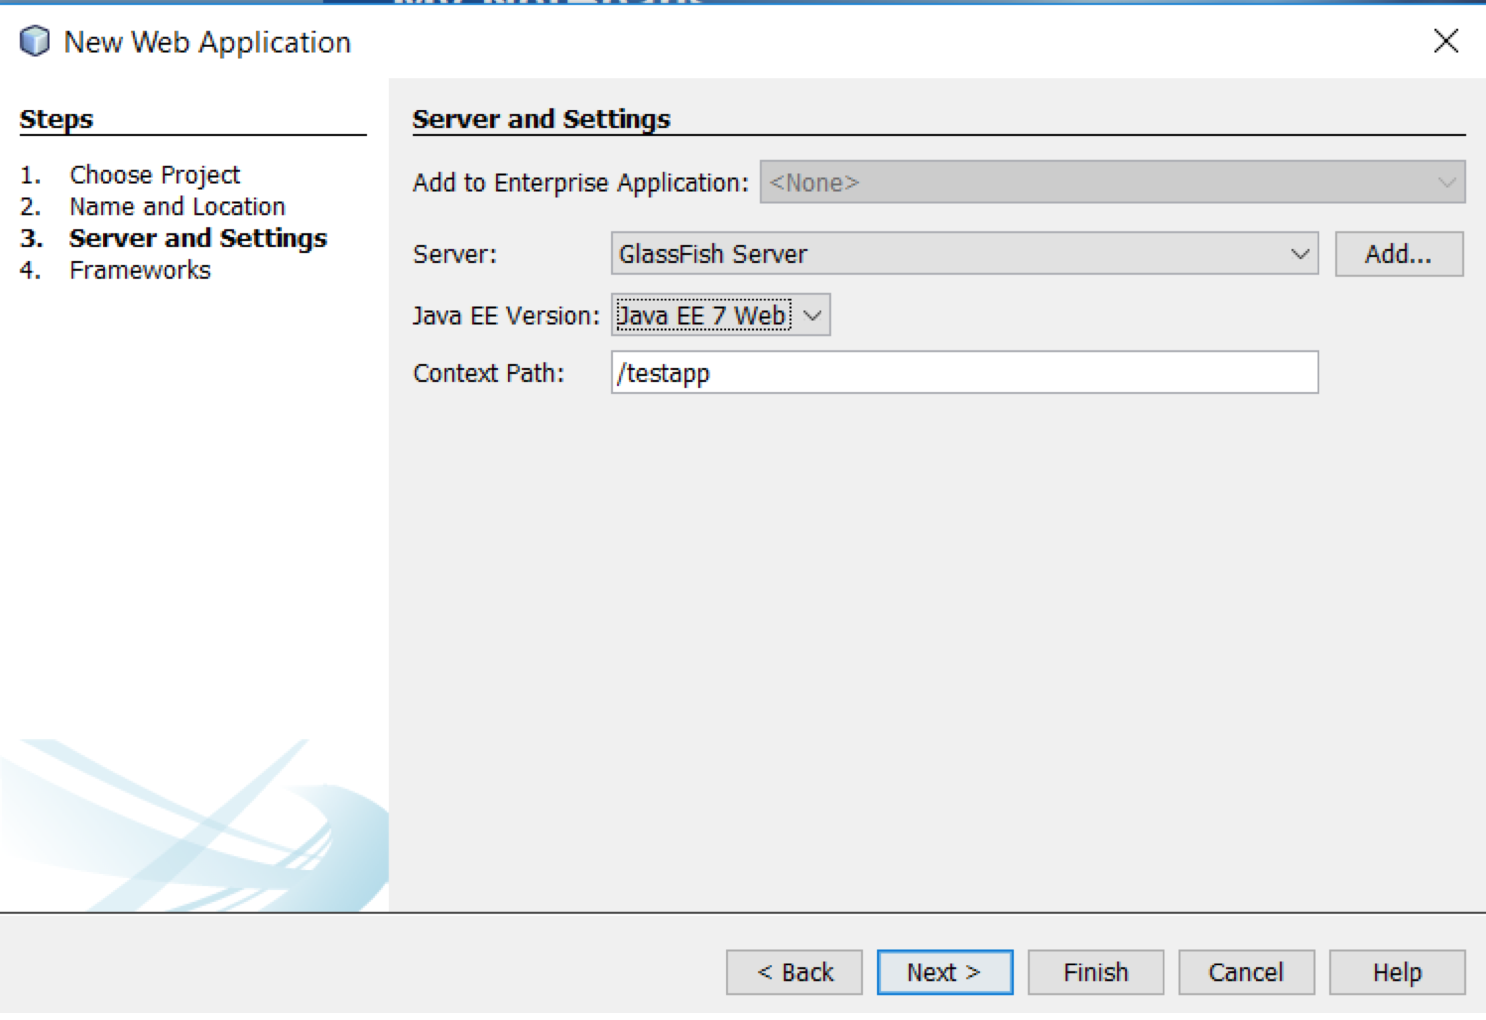
Figure 6 – Server is registered in the IDE
Hope this helps!!!